Streamlining your business can have a major impact on your bottom line and the success of your business. With tools like Wave, you can automate your invoicing, customers, payroll, and more. Wave can save you countless hours each week.
Another way you can streamline your business is to use a tool like Formstack Documents to automate your paperwork like welcome letters and contracts.
In this example, we’re going to show you how to automatically send welcome letters to new customers that are added to Wave. We’ll also be using Lob to print and mail our letter for us.
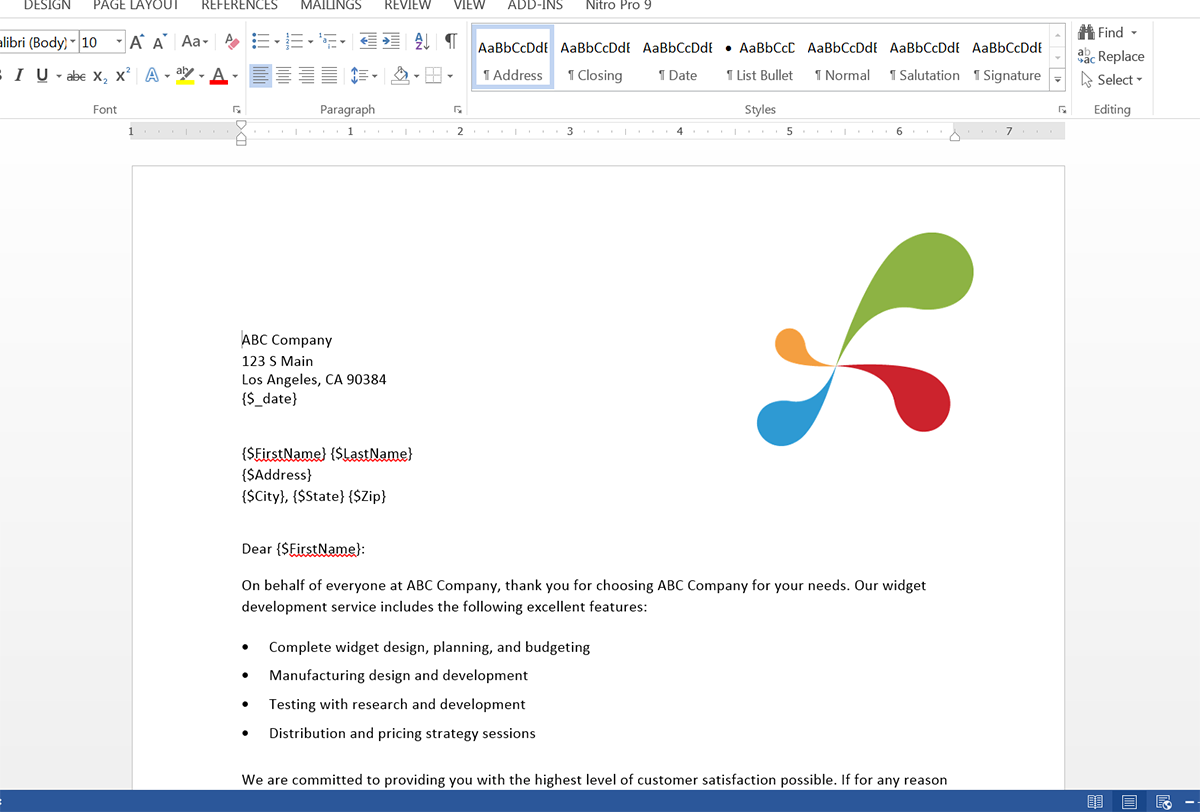
To get started, we’re going to setup our welcome letter template using a Word document. Inside the Word document, we’re going to add our normal letter information and then for the spots that we want our customer’s information to go, we’re going to add merge fields that look like {$FirstName}, {$Address}, etc.
Here’s what our letter template looks like:

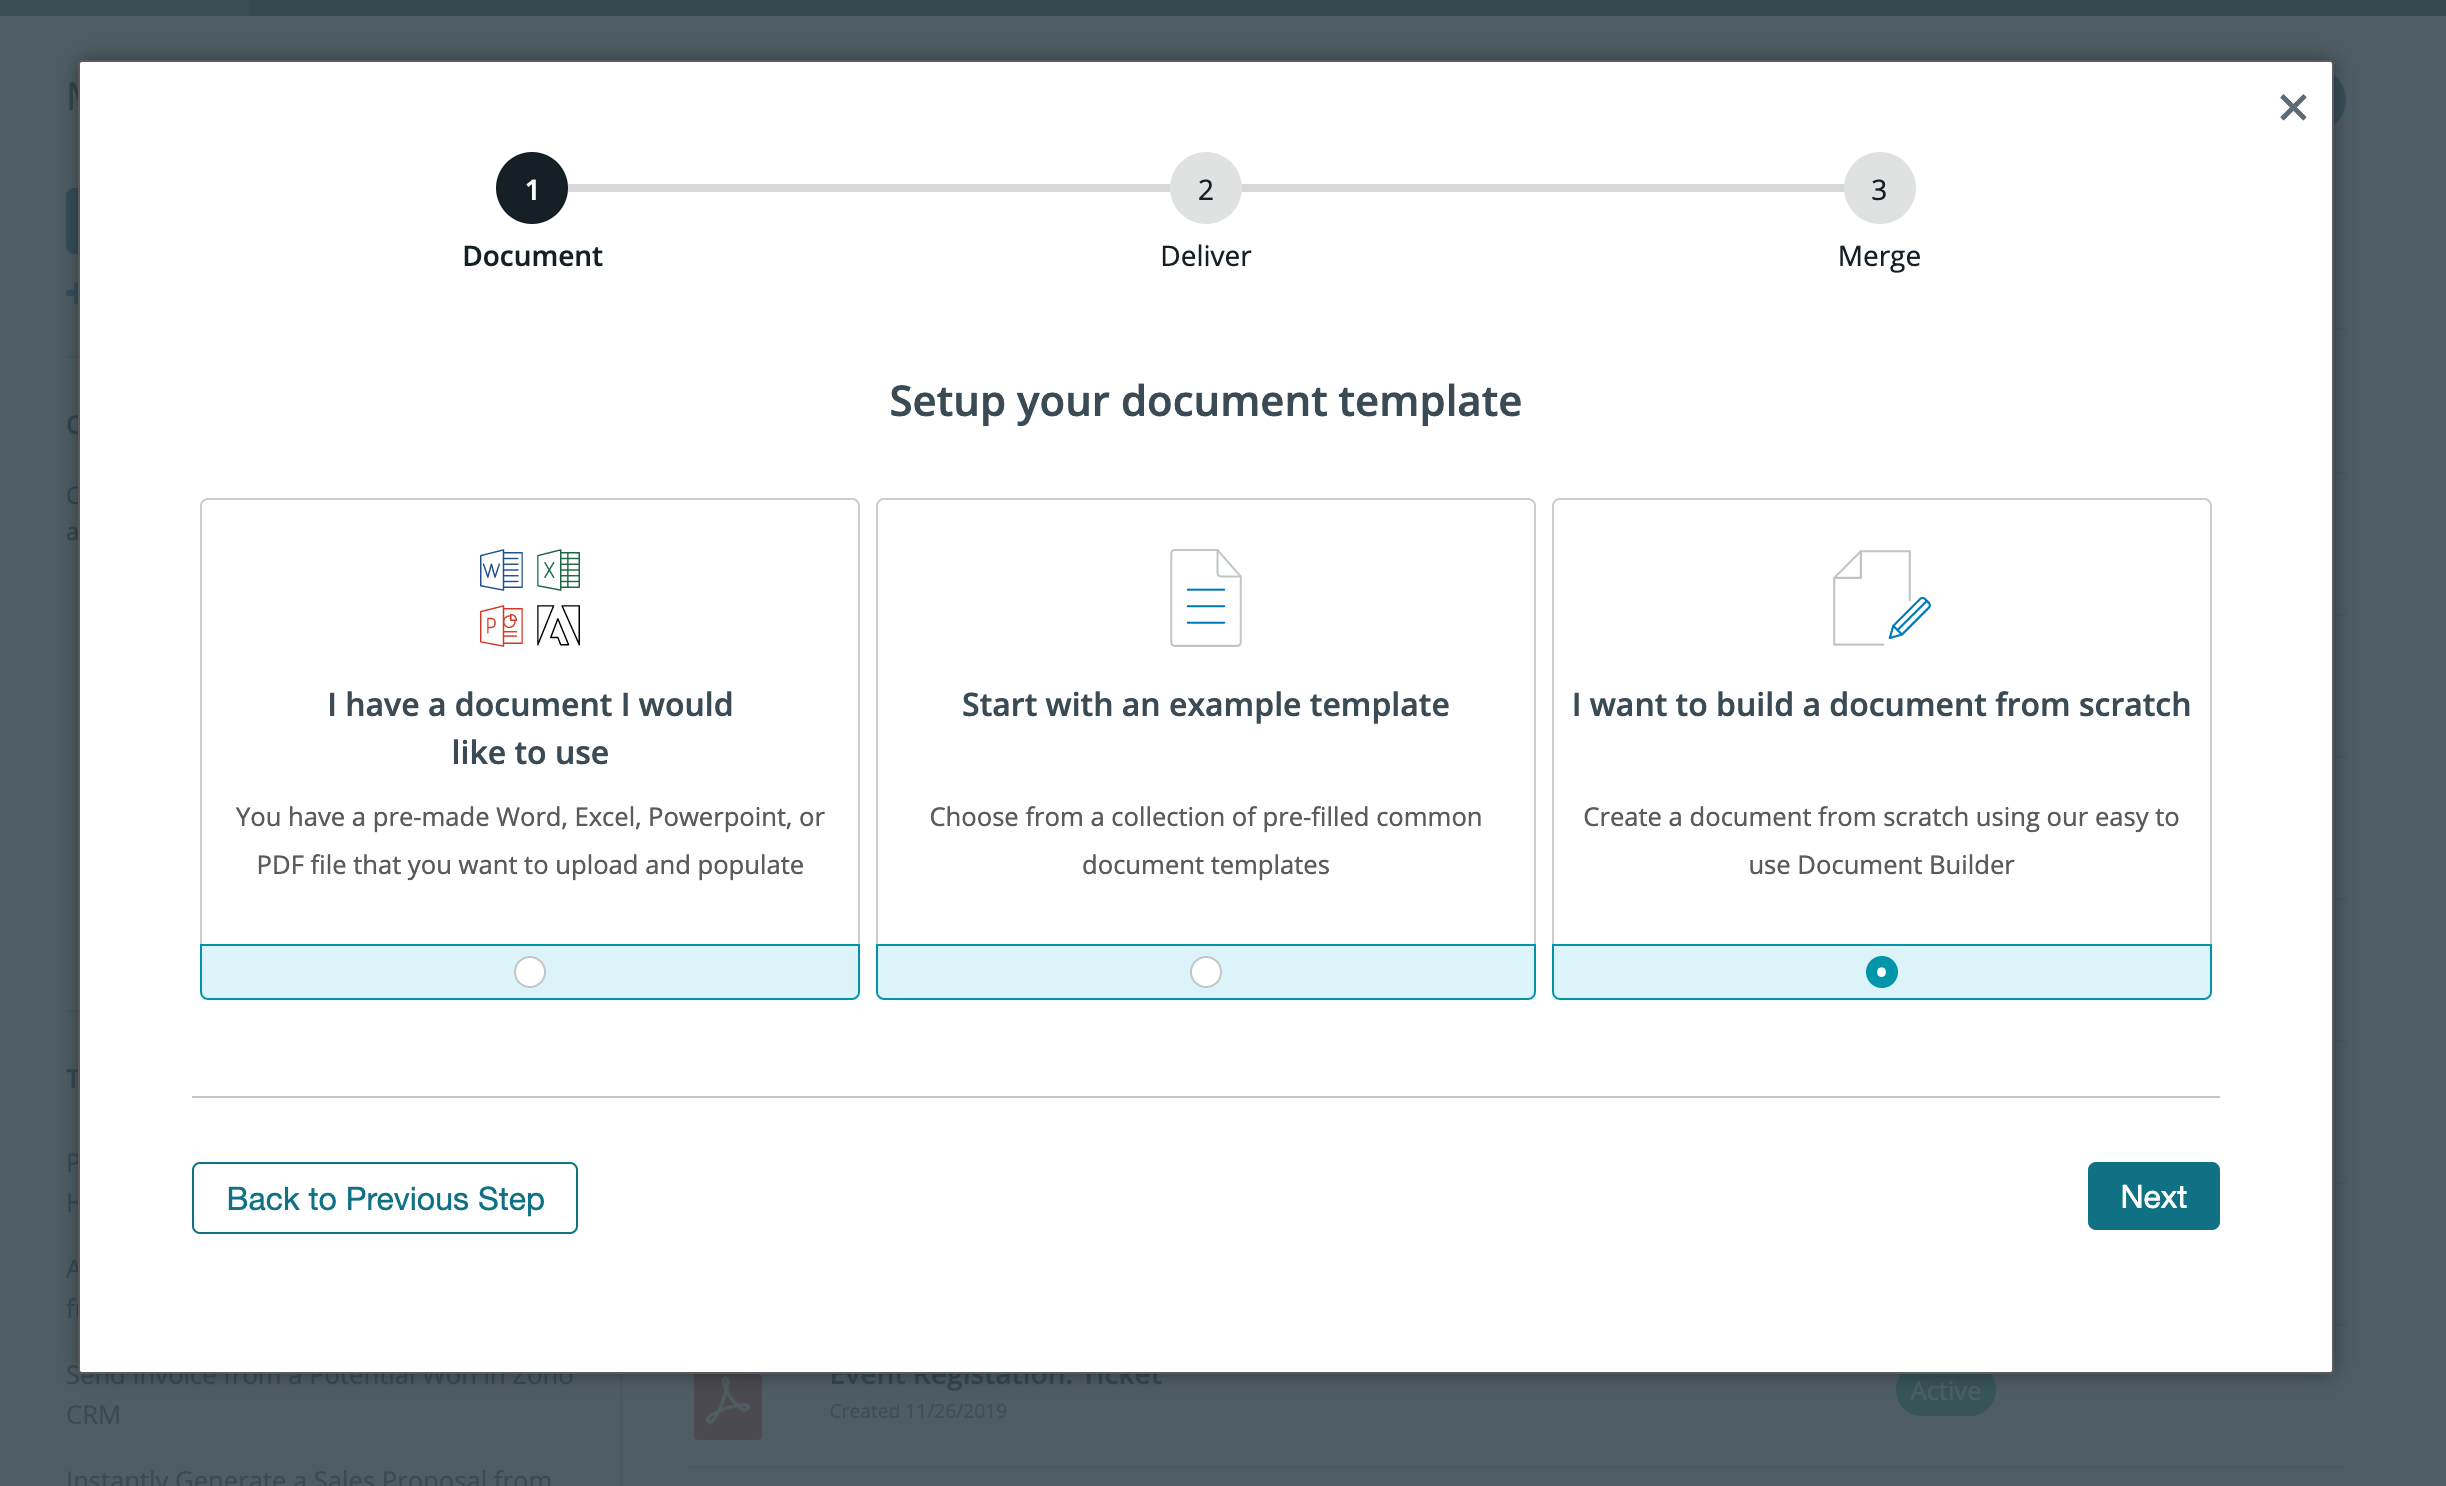
After we’ve finished our template, we’re going to upload it to Formstack Documents. From the Documents page in Formstack Documents, click the New Document button and enter the name for the document. On the next step, pick Office Document as the document type and then pick the file from your computer.

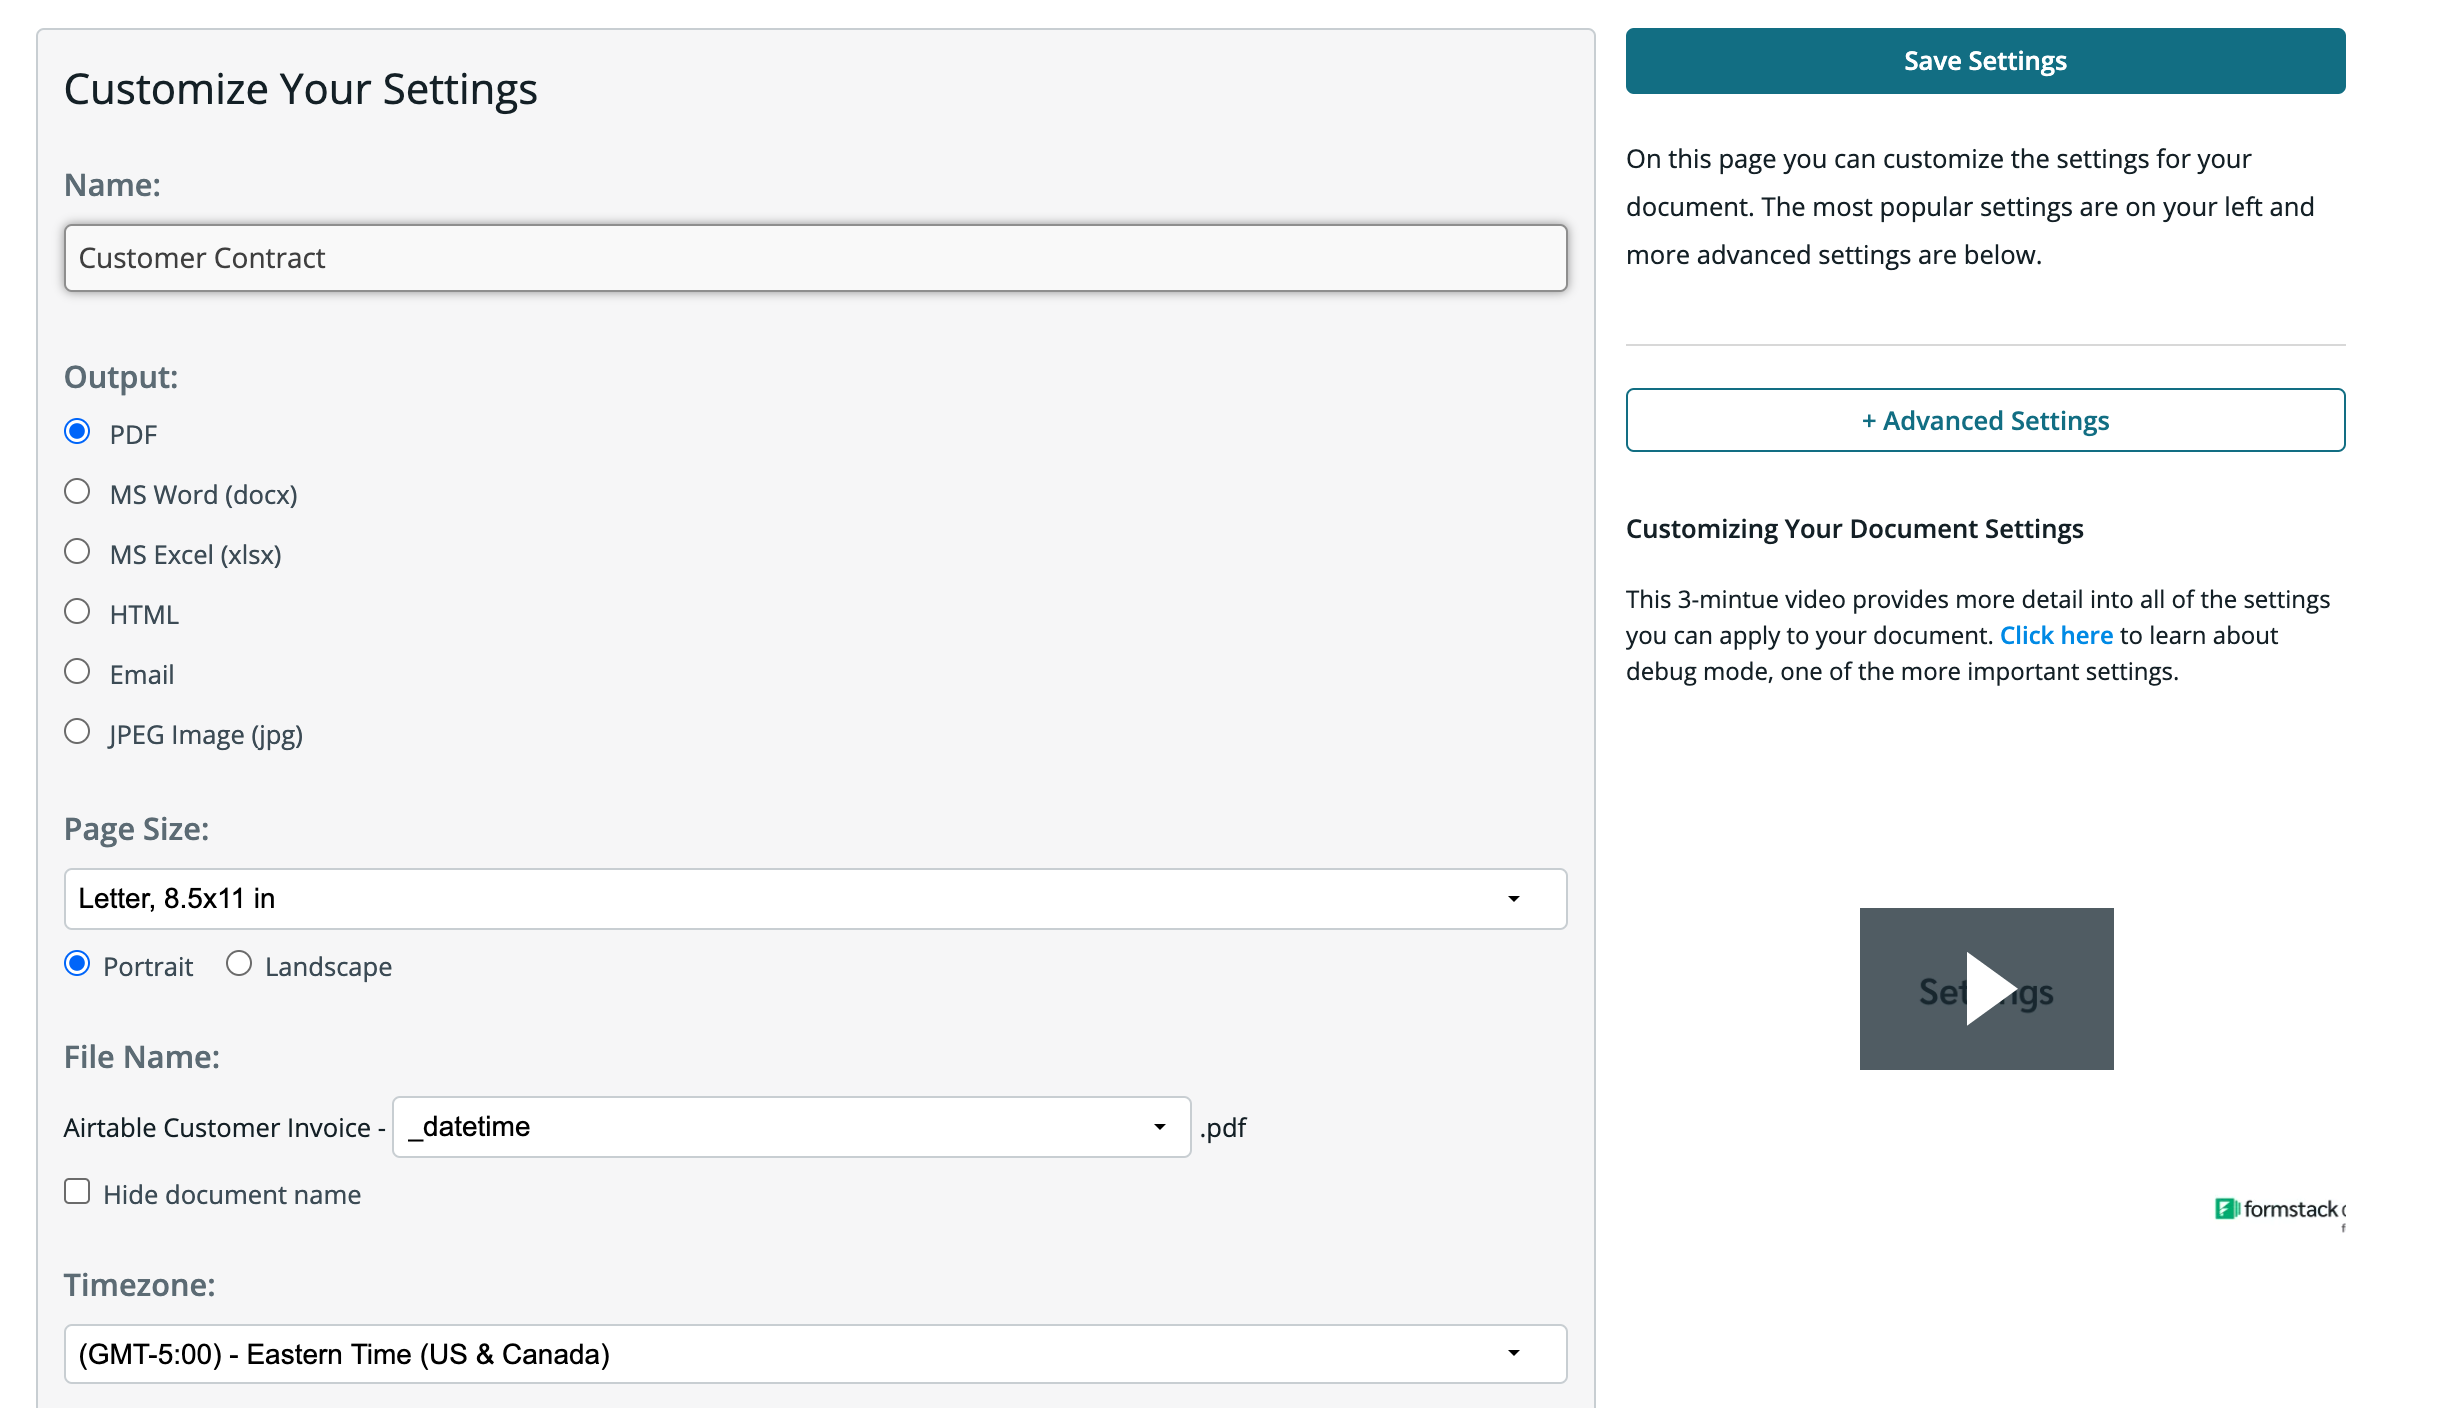
Once you’ve uploaded your template, you’re going to be taken to the Setting tab where you can update different options like the type of file that is generated and the name of the file. For this example, we’re going to generate a PDF and include the name of our customer in the file name.

Next, we’re going to setup the delivery of our document to Lob so that our merged letter will be automatically printed and mailed to our customer. From the Deliver tab, click the New Delivery button and then select Lob from the list.
Go ahead and enter your Lob API Key and then pick the merge fields for the “To” address. For the “From” address, you can pick <<other>> from the dropdown and then enter in your address.</other>
After we’ve finished our Lob delivery, it’s time to setup our integration with Wave! To help with the integration, we’re going to use our friends over at Zapier. Inside Zapier, go ahead and create a New Zap. For the Trigger, we’re going to pick Wave as the service and then New Customer as the trigger. After you authenticate your Wave account, Zapier is going to load a recent customer for testing purposes. Please follow those steps and move on.
Next, we’re going to setup the Action of the Zap. Go ahead and pick Formstack Documents as the service and then Create Document Merge as the action.
After you’ve authenticated your Formstack Documents account, Zapier is going to load a list of all the documents in your Formstack Documents account. Go ahead and pick the letter template that you setup. Once you pick the template, Zapier is going to load a list of all the merge fields in your document.
For each of the merge fields, you’ll need to pick the corresponding fields from Wave. This tells Zapier how to send the data over to Formstack Documents so that it is placed in the correct spot on your document.
After you’ve matched up all of your merge fields, go ahead and save the Zap and then we’re ready for a test! Login to Wave and add a new customer. Zapier will detect the new customer and then send that data over to Formstack Documents.
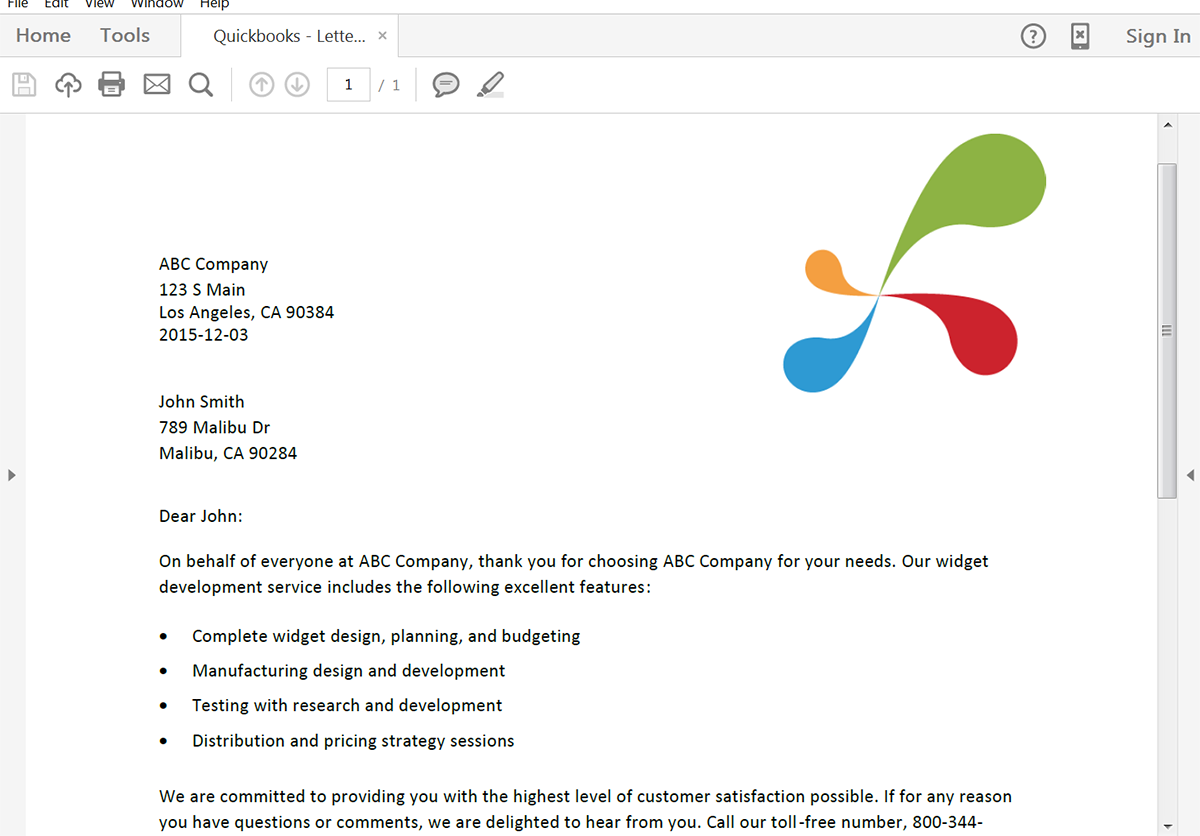
Here’s what our merged letter looked like:

Start a free trial today to see how Formstack Documents can eliminate paper from your daily workflows.


